Moving bees (whether from a nuc to a full hive, or relocating a colony) is one of those beekeeping tasks that feels nerve-wracking to beginners – and for good reason: if done poorly, you risk losing foragers, confusing the bees, or damaging comb or brood. But done carefully, it’s entirely manageable. In this post I’ll walk you through tips, pitfalls, and practical ideas (including using net washbags to secure nucs during transport).
Why moving bees is tricky
Bees have a finely tuned “map” of where their hive is, using landmarks, scent cues, and orientation flights. If you shift their home a little too far (but not far enough), returning bees might keep going to the old location, unable to find their entrance. That’s where the old “3 feet or 3 miles” guideline comes in.
- Less than ~3 feet (≈ 1 m): The idea is the move is small enough that bees will still find their way – local landmarks and scent cues are mostly undisturbed.
- More than ~3 miles (≈ 5 km or more): At that distance, the bees’ old landmarks are irrelevant, so they are forced to reorient entirely to the new site.
- Between ~3 feet and ~3 miles: This is the “danger zone” – bees might try to return to the old location and get lost or confused.
However – and this is important – the 3-feet / 3-miles rule is a rule of thumb, not a strict law. Many beekeepers move hives intermediate distances successfully, using extra tricks (obstructions, reorientation aids, small incremental moves) to reduce losses.
One useful strategy (if you need to move your bees an intermediate distance) is:
- Move them more than 3 miles away, keep them there for a period so foragers “forget” the old site, and then move them to the final spot (if it’s within 3 miles of the original).
- Use entrance obstructions (sticks, branches, screens) so that bees must pause and reorient when they emerge.
In short: the “3 feet or 3 miles” saying is a helpful guide for beginners, but always consider your local terrain, orientation cues, hive orientation, time of day, and whether the bees are confined before moving (which triggers re-orientation).
Steps & best practices for moving a nuc or hive
Here’s a step-by-step guide, with extra tips tailored to nucs and transport security.
1. Timing & preparation
- Move when bees are least active – evening or night is ideal. Reduces chance of bees flying out as you move.
- Confine the bees (i.e. close the entrance) for a few hours before moving, so fewer bees are out flying.
- Make sure the nuc or hive is well sealed (but ventilated) for the transit.
2. Securing the nuc: using net washbags
One issue beginners often face is that the small plastic entrance discs or slotted disks (often supplied with poly nucs) can warp in sunlight or heat, creating gaps through which bees might wiggle out during transit.
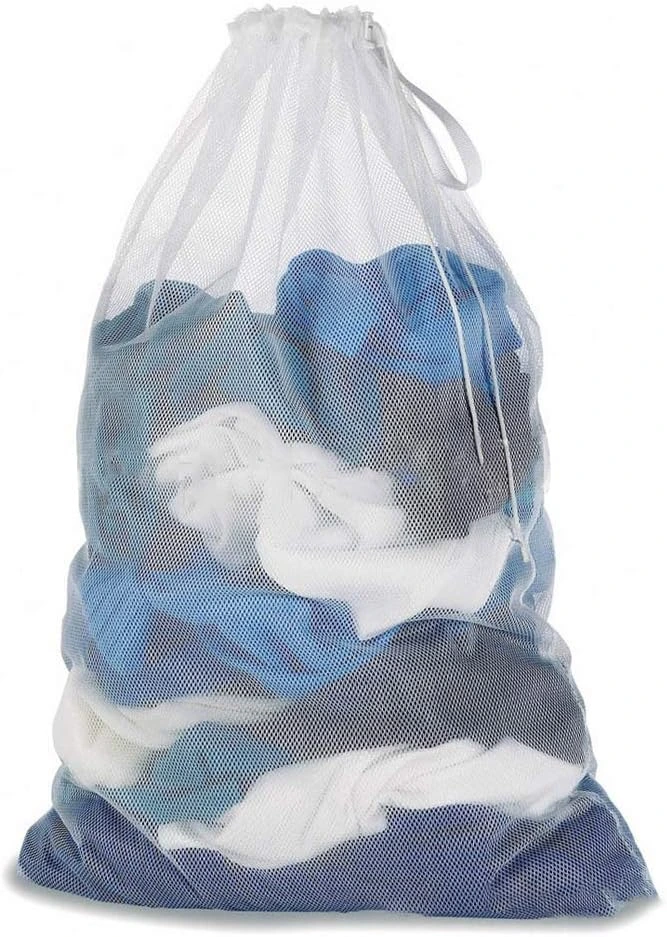
A simple, low-cost solution is to wrap the nuc box in a net washbag (or laundry delicates bag):
- Use a durable net/mesh bag (fine mesh, strong seams) large enough to encompass the entire nuc box plus lid.
- Wrap it snugly around the nuc, tying or securing the net so it won’t slip.
- Ensure that there is some ventilation – the mesh allows air in, but bees can’t escape.
- Check seams and corners, especially around corners and entrance area, to prevent gaps.
This way, even if the entrance disk warps or a small opening is created, the net acts as a backup barrier to escaping bees.
Additionally:
- Use straps or rope to anchor the nuc in your vehicle so it cannot shift in transit.
- Shade the nucs (to avoid overheating) but not so airtight they suffocate the bees.
- In case of sudden stops or jolts, the net keeps things intact.
3. Transporting
- Drive smoothly — avoid sudden accelerations, braking or tilting of the box.
- Keep the boxes level.
- Avoid exposure to direct sunlight; if possible, keep in a shaded part of your vehicle.
- Monitor temperature: in warm weather, overheating can stress bees.
4. Setting down & re-orientation
Once you arrive:
- Place the nuc/hive so its entrance faces the same direction as before (if possible), to reduce disorientation.
- Use a “maze” of small sticks, twigs, or branches placed a few inches in front of the entrance to force bees to pause and reorient themselves as they emerge. This is especially helpful when moving intermediate distances.
- Wait until mid-afternoon of the next (or second) day to open fully or transfer frames – allowing bees time to adjust.
- Provide some emergency sustenance (e.g. sugar syrup) if necessary until bees reestablish foraging.
5. Transferring from nuc to a full hive (if that’s your goal)
- Don’t delay too long – a nuc, especially one with brood, wants room to expand.
- When you transfer, maintain frame order (i.e. don’t invert frames) where possible, and shake or brush off bees into the new hive gently.
- Monitor the first few days for signs of queen acceptance, brood raising, and activity stability.
Special considerations & cautions for beginners
- Check that queen is safe before moving; any disturbance or injury to the queen is disastrous.
- Don’t overdo intermediate moves if terrain is complex (wooded, landmarks, fence lines) – gradual shifts might confuse more than help.
- Weather matters – avoid moving during extreme heat, rain, or high winds.
- Keep good records – note original and new locations, distances, orientation, entrance direction, and how the colony performs afterward.
- Practice on a dummy hive or empty nuc first, to get a feel for securing and transporting without risking a live colony.
- Be ready for losses – even seasoned beekeepers lose some returning foragers when relocating. Using the above best practices reduces risk but cannot eliminate it entirely.